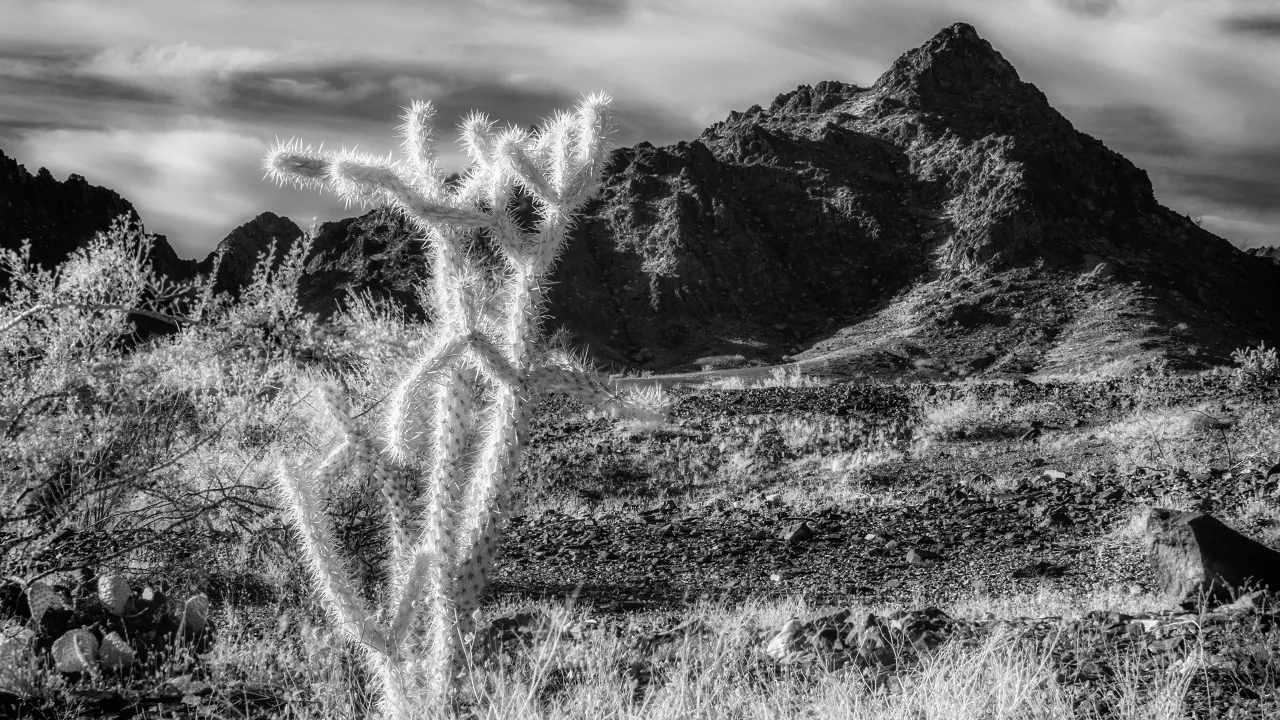

As many of you already know, I love infrared photography. Although this post features images taken with an infrared-converted camera, I will share a technique to achieve maximum depth of field in your image by keeping everything sharp.
Utilizing a long lens to compress scenes can leave some areas out of focus, so I prefer taking my photos with an aperture set halfway open rather than completely closed down – this way there will no worries that an area is out of focus!
Always mount your camera on a tripod or stable surface; I used the Platypod camera support as I wanted a low angle close to the ground and focused my lens on foreground elements such as desert plants and background scenery without moving my camera.
Post-Production Start editing images using Adobe Camera Raw by editing density, highlight and shadow settings and clicking Done so they are associated with each file.
Simply open your files using the Photoshop command in the Tools menu titled Load Files into Photoshop Layers.
Once in Photoshop, highlight all three layers in the Layers palette. From the Edit menu’s Align Layers option, use automatic alignment if it does not work as intended; manually aligning layers may also be necessary in some instances.
Focusing alters the size of images slightly; to compensate, use the Edit menu’s Auto-Blend Layers feature. With selected images still highlighted, use Auto-Blend Layers feature.
Check “Stack Images and Seamless Tones and Colors” in the dialog box, to create masks to blend all the sharp pixels together.
Increase the viewing size of your image to check for errors with blurry spots and any errors related to masks. If any issues exist, adjustments can be made accordingly.