
The iPhone is notoriously known for not including any instructions, leaving us to figure things out for ourselves. That’s fine: its camera works – all we need to do is open its app, click the white button and take photos?
True, but what about all those secret features Apple never told us about? After using my camera constantly and experimenting, I discovered many hidden gems; here I share 10 of my favorites.
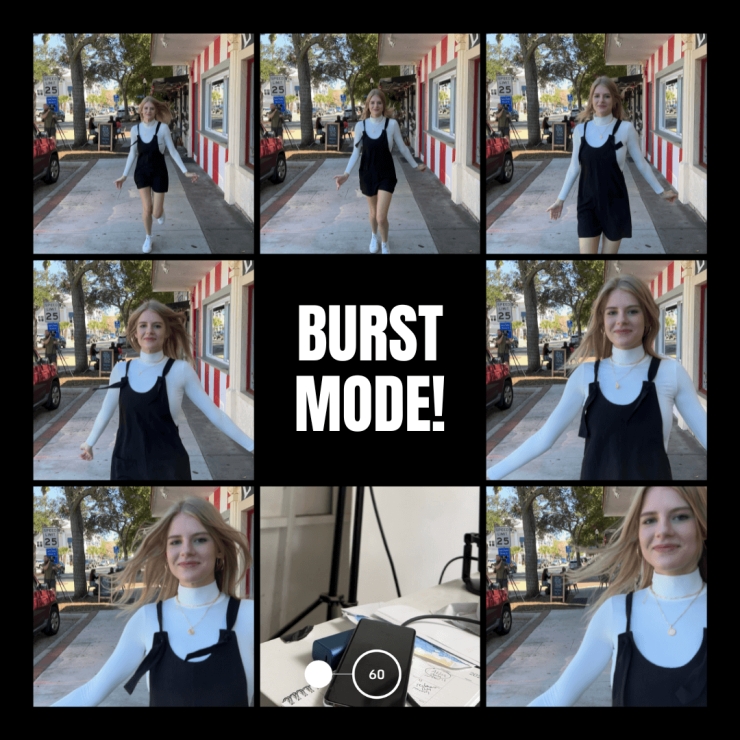
1. Capture Action with Burst Mode
The iPhone may not have all of the bells and whistles found in professional cameras like Sony or Nikon; but you can use Burst mode to stop action at a soccer game, basketball game, etc. by snapping photos in rapid fire succession using Burst mode. Take lots of photos quickly for maximum impact – this technique works best when used at sporting events such as soccer games or jump shots!
How to use: Place your finger on the white shutter button, and pull it to the left. Please be mindful when doing so as this requires skill; please also note: pressing down instead of swiping may trigger video recording instead – in such an instance simply ignore and swipe again instead!
Your shutter should snap open instantly.
There’s another surefire method. First, go into Settings, scroll down to Camera and open it up – make sure Use Volume Up for Burst is selected; turn your camera horizontal and use the top left volume button as your shutter; hold down and you will enter burst mode!
2. Capturing photos and videos at once
To take both, open Video mode, click the red record button, start recording, then a white photo shutter button appears on screen; just tap this while recording to add stills directly to your Camera Roll! This method works much better than using my old technique: taking a screen capture with my iPhone camera then cropping it afterwards.
3. Mirror selfie camera to prevent backward text Its Isn’t it frustrating when wearing a shirt with lettering and when taking a Selfie picture, all the letters appear upside-down? Luckily, there’s a quick solution right in your Settings Menu: General/Camera > Composition > Make sure “Mirror Front Camera” is unchecked, and your words should look the way they did originally!
4. Erase People from Your Shot mes There are two methods available to remove people from a shot for free; Live Photos by Apple provides one approach. Initially intended as an add-on gimmick to add short video clips (hence “live”), you now also have an option within Live called Long Exposure which I use often when photographing water bodies such as lakes. But try it on people as well – sometimes it works just by reaching for this feature!
Photo Eraser is an effective paid option; just open your photo, press your finger over an area you wish to delete, draw over it with your fingertip and release. However, this service costs $2.99 weekly, or over $150 annually.
5. Take Better Selfies With Timr
It can be challenging to simultaneously position and snap the perfect selfie, all while reaching for the shutter button. My suggestion: use the Timer feature within the Camera app’s camera menu, set it for 10 seconds, and give yourself enough time to relax before clicking shutter button. (To access this menu simply open Camera app then Photo > Carrot in top center screen > Scroll left/right between Flash, Night Mode Live Styles Aspect Ratio Exposure Control Timer).)
6. Fix Lighting
The iPhone excels at taking gorgeous pictures; no blurriness and perfect exposure thanks to automatic. But sometimes things don’t go quite according to plan, which is when I use Exposure Control from its hidden menu (clicking the carrot at the top middle of the photo menu) for manual control of exposure settings – one such option allows me to brighten or darken an image by two F stops respectively.
Real time use case: I was photographing a stained-glass window in Half Moon Bay with an iPhone camera when it wanted to expose for the entire scene, making too much light through and making too little glass visible for exposure purposes. Instead, I needed it all lit up perfectly so we could see all four walls too – so instead I opened Exposure tool and dialed it back significantly; creating vastly improved shots with richer colors!